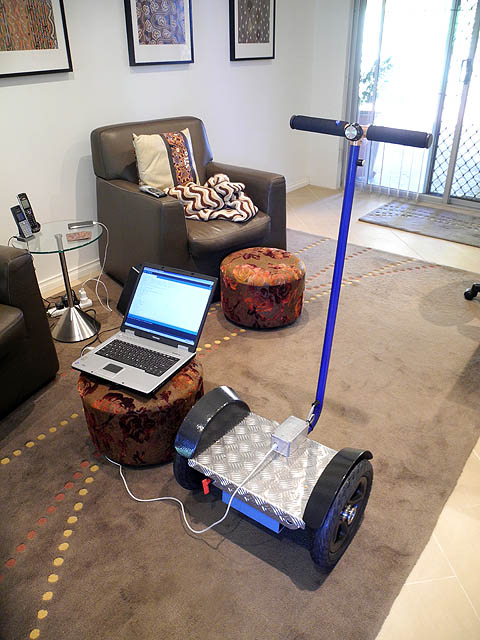
First real time test.....

Testing and modifying the program.....

Wow just like JD!!
Self balances and everything.....
What things needed to happen to get this far?
1 - In using the SEN-11072 IMU I needed to use the "Y" (4.5x) output in place of the "X" (4.5) output on the gyro because its orientation is physically turned 90 degrees on the mounting PCB compared with the original SEN-10100 IMU JD used.
2 - Modify the code to suit the SEN-11072 IMU Accelerometer and Gyro parameters (this involved getting my head around the Arduino code and learning the physics of the IMU a bit better - thanks to James for his assistance and support on this)
3 - I need to change the loop_time variable to -loop_time (to make both Accel and Gyro go in the same direction - JD has a note about checking this....)
4 - Modified to allow disconnection and re-connection of the negative 24 volt lead (I have a master switch used to isolate the batteries). Currently the code does not bring the digital "Engage" input pin back "High" after the (-) 24 volts lead is disconnected and reconnected. See this bug report at http://forums.adafruit.com/viewtopic.php?f=22&t=21454 . So looks like this is only a problem with the Arduino Uno? Note: I have found the use of a hardware reset push button has solved this issue with the Uno (as per some of the discussion on the Arduino forms).
Other things to do in the future:
1 - Make final code adjustments to improve the SegBot performance and balancing act (most likely an on going process). This includes revisiting the safety windows to suit the modified sketch for the SEN-11072 (ie setting the upright position window before you can actually engage operation and also setting the maximum safe forward and back angles allowed).
2 - Replace the 6 pin plug and socket used with something of better quality! Or just hardwire.... (Now done - just hardwired it...)
3 - Improve the slop in the "free" hub arrangement used on the wheelchair wheels (actually not to bad but could be improved)
4 - Make a protective "nose piece" with bumper protection for the front of the SegBot, make a rear bumper plus make some proper carbon fibre (or fibreglass) guards using my current prototype guards as a mould
5 - Make a SegBot kickstand of some type? With a mechanical fuse just in case....
6 - Add a "Ready" LED showing the Engage switch is depressed and the upright is at a safe angle to ride. Maybe RED for POWER ON and GREEN for READY state?
7 - Add a battery state warning device. Will most likely modify one of the audio alarm modules I made for my electric car when I used AGM SLA batteries. Just adjust the comparator levels to suit the 24 volt system. Have a LED for "Getting Low" and an audio tone for "Stop Using It"..... From my electric car experience, I have found a warning sound is better then a visual indictor (assume you are not hearing impaired....)
Wish list:
1 - Make a curved centre upright similar to the real Segway that follows the curve of your leg in a slightly bend knee position? This now seems logical....
2 - Look at a steering method that allows the use of either hand and the depression of the engage button at the same time.
_______________________
Here is a
![]() video of the first test ride
video of the first test ride